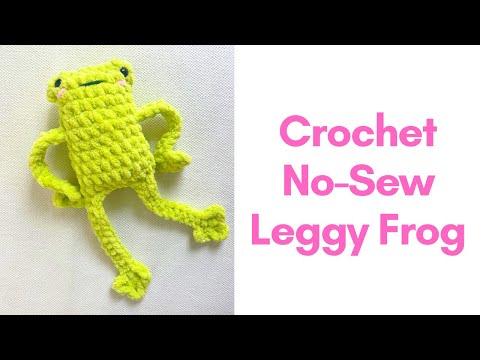
CROCHET LEGGY FROG - NO SEW!! / NO-SEW CROCHET ANIMALS
Learn how to crochet a leggy frog today! This is an easy to follow crochet tutorial so that you can crochet a frog with me! Purchase a printable PDF of this pattern here: https://shorturl.at/eltD3 Check out the blog for lots of free patterns! https://anitalouisecrochet.com/ ********************************* My channel has crochet tutorials and lots of fun crochet projects for us to crochet along together! Hi, I'm Anita Louise and I'm a bit of a crochet addict! I started crocheting when I was 6 years old and have been hooked ever since. I absolutely love to crochet and I also love creating my own patterns to share! Thank you so much for stopping by to check out this pattern. I hope you love it as much as I loved creating it just for you! Materials needed: Size 6 chunky blanket yarn 6mm crochet hook 10 mm safety eyes a small piece of pink yarn and black yarn stitch marker (optional) a handful of polyfill Pattern: No-Sew Leggy Frog Ch 9. Place a marker in the 9th chain. R 1: 2 hdc in 3rd ch from the hook. (the 2 skipped chains count as a hdc. The marker you placed marks the top of this ch2) sc in next 5 ch. 4 hdc in last ch. Working on the other side of the chain, sc in next 5 ch. hdc in last ch. (18) R2: sc decrease. 7 sc. sc decrease. 7 sc (16) R 3 - 4: sc around (16) Place safety eyes on sides of face between rows 1 and 2. embroider cheeks about 1 stitch below each eye, 1 stitch across. stitch mouth on face, between rows 2 and 3, 3 stitches wide. R 5: sc 8 (you may need to add an extra sc to get to the side of your frog). [ch 14. sc in 4th ch from the hook. (ch 3, sc in the same ch) x 2. 10 sc back up the ch.] 1 arm/leg made. Working on the body of the frog, 8 sc. Repeat arm. R 6: sc around (16) On this round, you will need to push the arms of the frog to the outside so that you can place all of the sc on the body of the frog. R7: 7 sc. sc inc. 7 sc. sc inc. (18) R 8-11: sc around (18) Row 12: make a few more sc so that you are on the side of the frog. make arm. stuff frog body. sewing frog closed: fold frog so that the open stitches on the bottom are together. take the first 2 stitches that are closest to the arm just made. slip through the back loop of both sc. sl st. sl st the next 6 stitches together. make another arm. sl st the last stitches together to close up your frog. finish off! Etsy: Etsy.com/shop/anitalouisecrochet Instragram: @anitalouisecrochet Pinterest: anitalouise813 My blog: anitalouisecrochet.com Business inquiries: anitalouise813@gmail.com My Amazon Shop: https://www.amazon.com/shop/anitalouisecrochet Follow me on my social media! Instragram: @anitalouisecrochet Pinterest: anitalouise813 #howtocrochetforbeginners #crochetforbeginners #crochetforkids DISCLOSURE: I often include links to the yarn, hooks, and other products I regularly use so that you can easily find them too! Some of the links are affiliate links. This means that if you click on one of these links and make a purchase, I may receive a small commission, with no additional charge to you. Thank you for supporting this channel so that I can continue to bring you more free videos!
Video
Share
Facebook Comments
Popular Videos


 1. Bölüm")


![[AMIGURUMI] Santinhas e Anjos Amigurumi Com Receitas Detalhadas Passo a Passo](timthumb.php?src=https://almody.com/images/g3lCRtRFByI.jpg&w=360&h=200&q=60 "[AMIGURUMI] Santinhas e Anjos Amigurumi Com Receitas Detalhadas Passo a Passo")
(Englishsubtitle)")
 #amigurumikuzuyapimi")

How to Crochet Frog - Beginner Friendly Frogging Friend Crochet Stuffed Animal Pattern by Marly B...


Crochet Turtle |????????beginner friendly| easy| fast freetutorial|#handmade #amigurumi #crochet ...

 | How To Crochet Forest Animals Amigurumi | @AmiSaigon")

")


